There are many styles of documentary filmmaking, but one of the most well-regarded is that of the award-winning Ken Burns. His use of still images in particular is so iconic that the film world named an entire visual style after him: the Ken Burns effect. It’s a great technique to have under your belt, especially if you’re interested in pursuing documentary filmmaking.
JUMP TO
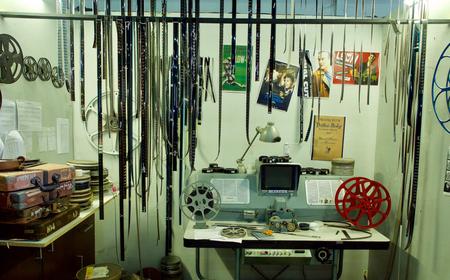
 Prathankarnpap/Shutterstock
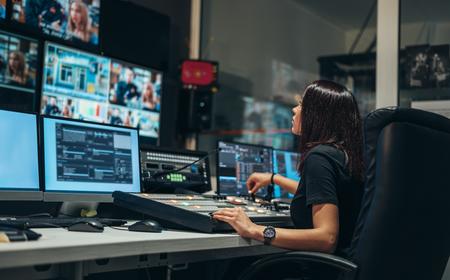
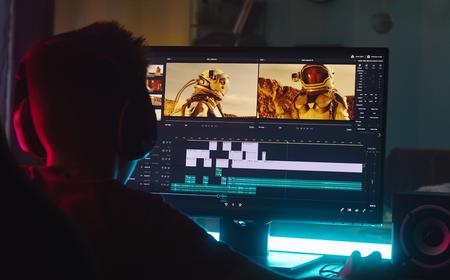
The Ken Burns effect is a pan or zoom added in postproduction across a still image. It adds the illusion of movement, giving still imagery the animation of a video clip. The effect also lends a visual flow to the piece and can be used to draw attention to a particular subject or detail within the image.
There are several examples of the Ken Burns effect in this clip from “The Civil War,” which originally aired on PBS. Pay attention to the way the panning and zooming adds dynamic movement and a sense of immersion to what would otherwise be static photos.
Who is Ken Burns?
Ken Burns is a two-time Oscar-nominated and five-time Emmy-winning documentary filmmaker, best known for works such as “The Civil War,” “Baseball,” “Jazz,” and “The National Parks: America’s Best Idea.” Burns typically documents historical subjects, which involves working with a lack of live video footage of the events he’s chronicling. To fill in the gaps, he developed the video editing technique that eventually became synonymous with his name.
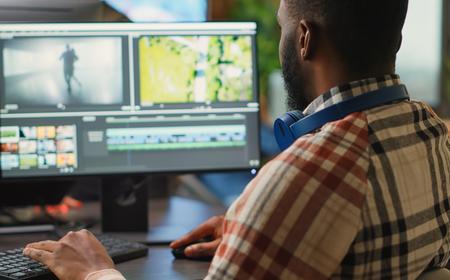
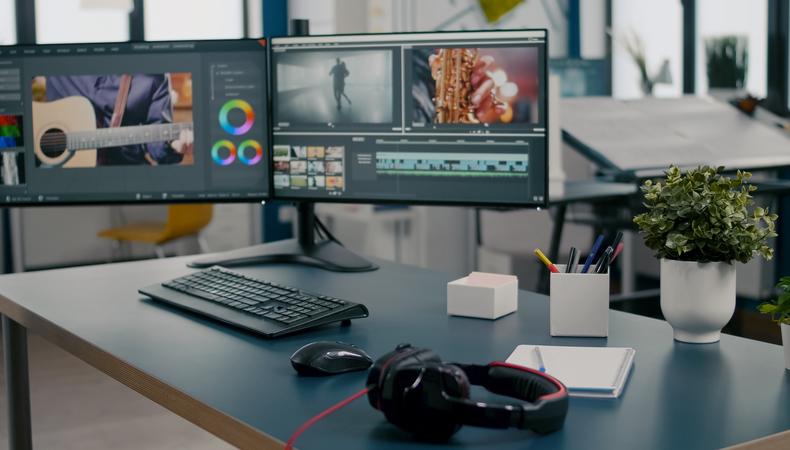
Fortunately, nowadays the Ken Burns effect isn’t hard to achieve. Most video editing software has a built-in “Ken Burns effect” function to apply the movement over your image. To create it manually, here are the steps to getting a Ken Burns effect in Adobe Premiere Pro:
- Add a still image clip to your timeline. Make sure the playhead is at the beginning of the clip.
- Go to “Effect Controls.”
- Click the stop watch next to “position” and “scale” to create the first set of keyframes for your animation.
- Move the playhead from the beginning of the clip to where you want the Ken Burns effect to end.
- Drag the value next to “scale” until it’s zoomed into the subject of your zoom or pan as much as you want. This will create a new keyframe.
- Drag the value next to “position” until the subject of your zoom or pan is in frame where you want it. This will create a second new keyframe.
- Hit play to check that your Ken Burns effect works like you envisioned. Adjust where necessary.
 What Is Cinéma Vérité? A Guide to This Vital Filmmaking Technique
  BoxBoy/Shutterstock
Want to master the Ken Burns effect? Here are a few go-to tips:
- Make it meaningful: Don’t just throw photos into your piece for the novelty of it. If you are going to use a still image, make sure its contents lend something to the story you’re trying to tell on film or video.
- Think of the details: Make sure the audience can easily make out what’s in the photo—if it’s too grainy or blurry, then when you start the effect of zooming or panning, it will be even harder for your audience to grasp it. Use images that are of the highest resolution possible and visually uncluttered.
- Keep it slow and steady: When you start to add the moving effect, whether it be panning or zooming, do it slowly and purposefully. In your editing software, you’ll be able to map out the starting point and the finishing point of the movement, as well as the time it takes to get from point A to point B. Make sure it doesn’t happen too quickly, which can end up looking jerky or twitchy and cause your audience to be distracted.
- Vary the movement: If you’re using the Ken Burns effect on multiple photos in a piece, vary the direction of panning and zooming. If you are panning slowly left on one image, try panning right on the next one. Try zooming instead. Try panning and zooming at the same time. The more varied the movement, the more fluid the piece should look from shot to shot.