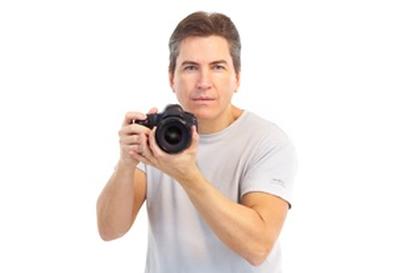
Ordinarily, we don't advocate for taking your own headshots. For the best results, always hire a professional. (You can find some great options in New York and Los Angeles on BackStage.com.) But for jobs requiring promotional materials, whether for an independent project or just to highlight a side of you that might not stand out in professionally shot pictures, taking your own DIY headshots can make a huge difference.
The first thing you'll want to do is find a place to take the pictures. The more power you have over the environment, the more power you'll have over the pictures, so shooting in your home might be ideal. Although shooting outdoors provides better lighting, it also introduces more uncontrollable variables. If you're shooting indoors, find a light colored background, like a white or cream-colored wall. A more dynamic background, such as a brick wall, could be used to achieve an edgier look, but as the background becomes more complicated, it will distract more and more from the subject of the photo. A simpler background will make the process considerably easier. A white sheet or blanket can also serve a backdrop, but the sheet must be pulled tight and ironed, lest any wrinkles appear in your shots.
Once a background is selected, you'll want to set up lighting. Lighting is a complicated and nuanced art form, but by understanding a few key concepts, you can approximate a professional set up with ease. Start by turning off any overhead lights. You'll be manipulating your own lighting, none of which will be placed directly above you. You'll also need actual light sources. While high power studio lights are obviously the best, for an inexpensive option that's probably already in your home, use lamps or a flashlights.
For a studio lighting effect, you'll want to use a method called three-point lighting. Three-point lighting relies on three lights placed around the subject. These lights, in order of importance, are the key light, the fill light, and the back light.
The key light is the main light source and should be the most powerful (brightest) of the three. Place the key light to the right or left of the camera, facing the subject at about a 45 degree angle. The key light should be placed a foot or two above the subject, pointing down. If you're taking the shots outside, the sun will always act as the key light. This is why the best times to shoot outdoors is during the hour after sunrise and the hour before sunset, when the sun is shining close to horizontal.
The fill light is especially important for a "studio" image. This light softens up the shadows produced by the key light, and is the second brightest of the three. Place the fill light on the opposite side of the camera that the key light is on, also facing the subject at an approximate 45° angle, at about face level. The key and fill light do not have to be placed at the same angle in relation to the subject.
The third light in a three-point lighting system is the back light, the least bright of the three. Placed behind the subject, the back light separates the subject from the background and, when done correctly, will create a subtle halo effect around the subject (imagine looking at someone with a setting sun behind them). This light is not as necessary as the key and fill light, and its effect is much harder to achieve when the subject is standing directly in front of a wall or other backdrop.
Once you have your set-up, take a few test shots. Have fun, get into character, and let yourself do the rest. Check back next week for information on how to edit your photos.
Want more acting tips? Watch below:
Inspired by this post? Check out our audition listings!