Headshot backgrounds can range from the highly comical (’80s glamour shots, we’re side-eyeing you) to the accidentally discrediting (blending into the wallpaper isn’t a good look). We’re all told not to judge a book by its cover, but when it comes to casting, this adage is often thrown out the window. As such, a headshot can make or break an actor’s ability to get a gig. For actors, these photos are your first impression, and so every element of them should be considered—including their background.
BongkarnGraphic/Shutterstock
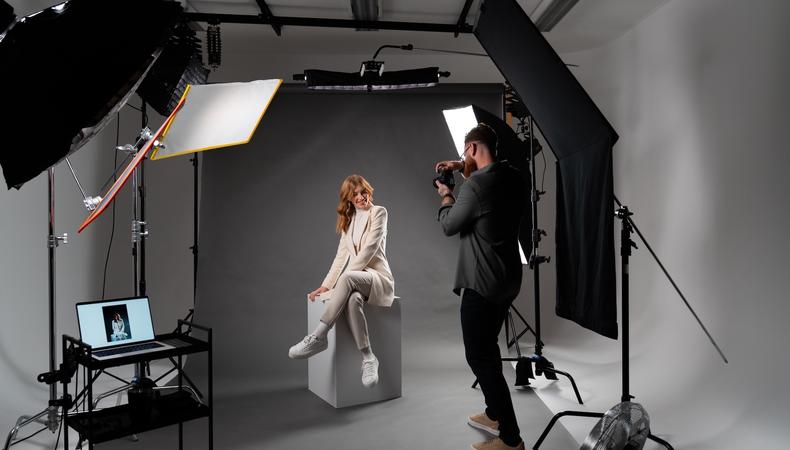
Your acting headshot should provide a strong sense of what you look like, but it should also give a viewer a sense of who you are as a person, beyond your exterior. To take a professional-looking headshot that achieves these goals, aim for a clear image that conveys a suitable tone.
Clarity: The primary qualification for a good headshot is clarity. You should be well-lit and your face should be unobstructed and directed at the camera. Don’t overdo the makeup, and frame yourself about chest-up.
Tone: You should also pay keen attention to the way your facial expression and background create a certain tone. Are you typically auditioning for comedic roles? Then have a more affable look on your face. Or if you’re more into the drama world, you may choose an expression that’s more neutral. Your headshot’s overall vibe will also be heavily influenced by its background.
PeopleImages.com - Yuri A/Shutterstock
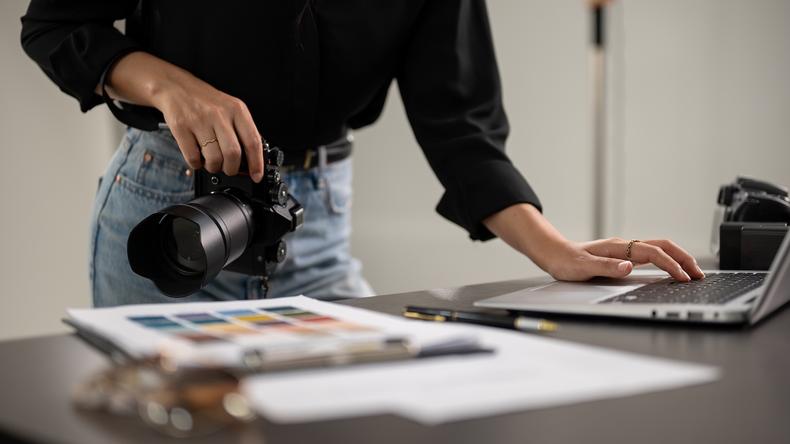
The best background for headshots is a simple, slightly out-of-focus backdrop in a neutral color. Lighter backgrounds in soft white or pale gray convey a softer tone, while darker backgrounds in a deeper gray or blue imply depth. The most important element when choosing a color is creating contrast; you want your face to shine, not blend into the background. However, you also want the background you choose to add to your photo, not distract or detract from it (as enjoyable as a cat and laser background may be for the viewer).
Here are some do’s and don’ts you should take into consideration.
Do:
- Choose a background that pulls the focus directly on you.
- Inform the tone of the photo with the background color. If you’re going for something moody, go with darker colors; if you want something joyous, go lighter.
- Keep the background out of focus.
Don’t:
- Pick a busy background that calls attention to itself.
- Use a brightly colored background.
Indoor vs. outdoor professional headshot backgrounds
One of the first decisions you’ll make when picking a background is to go indoors or outdoors. There’s no right answer here; what you choose will depend on multiple factors.
Outdoor headshot backgrounds: Outdoor backgrounds can have more character than studio backgrounds. They can lend your headshot some urban grit or green beauty. Again, this comes down to the tone you want your photo to have. Are you a cynical, tell-it-like-it-is comedian? Then taking a photo in an idyllic meadow may not make sense.
Taking headshots outside also means you can harness one of the most powerful lights there is: the sun. If you don’t have your own lights on hand, this makes an outdoor background a great choice. But remember that if you take this path, you’ll want to photograph with the sun at your back so that you aren’t blown out or squinting. To avoid being shrouded in shadow, you can use a bounceboard. Pro tip: If you don’t have a bounceboard, simply buy a white poster board at your nearest arts supply store and use that.
Keep in mind that shooting outdoors increases the likelihood that your background may be distracting. So make sure everything behind you is out of focus and keeps you as the center of attention.
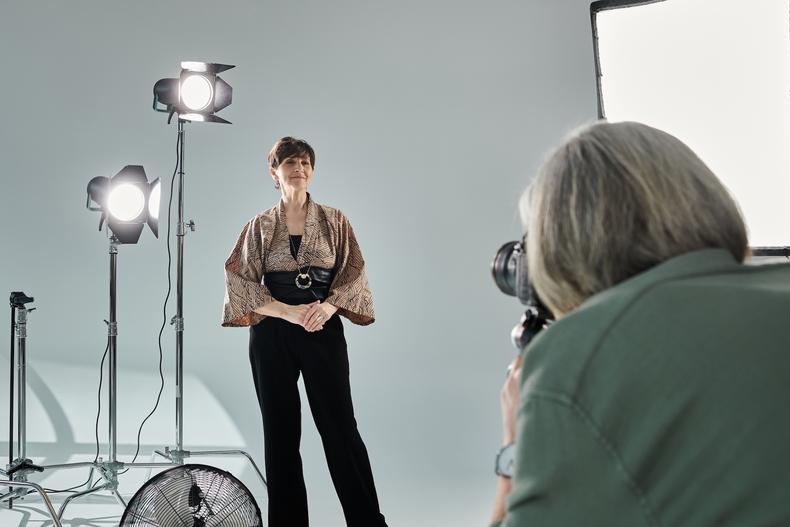
Indoor headshot backgrounds: An indoor background can give you much more control than an outdoor one, since you don’t need to wait for the sun to be in the right place or the snail-like pedestrian to walk out of frame. However, this can run the risk of feeling sterile, so make sure you’re giving enough character through your own demeanor to stand out.
Unless you have an abundance of natural light beaming through your house, you’ll need professional lighting—either a key light and fill light, or a ring light—to help your features and personality pop.
Typically, an indoor background will be taken in front of a solid color or gradient backdrop. This ensures that all focus will be on you, and you can choose a color that goes well with your complexion and eye color.
LightField Studios/Shutterstock
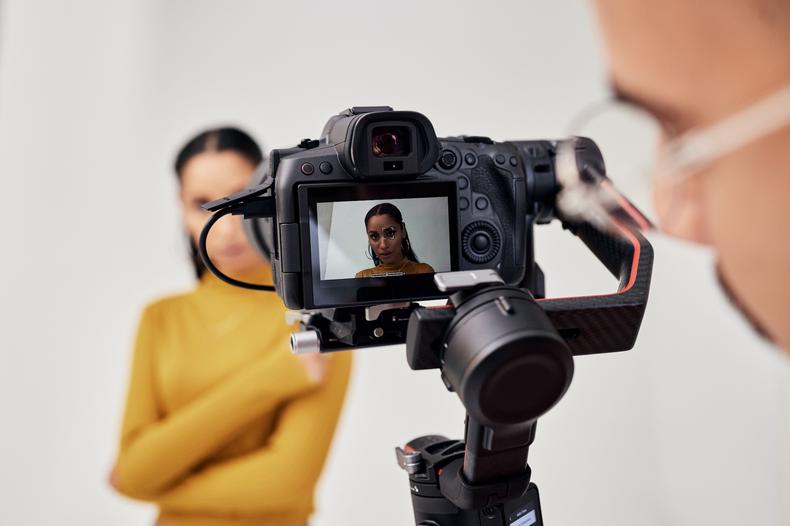
A good way to make sure your background isn’t distracting is to keep it out of focus. If you’re working with a professional photographer, they’ll take care of this for you. But if you’re setting up the shot yourself or getting an amateur to operate the camera, you’ll want to use the camera’s aperture or phone’s portrait mode, or add in blur yourself using photo editing software.
Aperture: The most effective method to blur your background is using your camera’s aperture. The more open your camera’s aperture is, the smaller the depth of field and the blurrier the background. If you’re not a photographer, this may sound like some nonsensical jargon. Let’s break it down.
Aperture is measured in f/stops. The lower an f/stop is, the more open the aperture. To have a sufficiently blurry background, you’ll probably want to be between 1.4 and 2.8.
A lower aperture means a brighter image. This isn’t ideal if you’re shooting on a sunny day, since you may run the risk of overexposing your image. There are a few ways to address potential overexposure:
- Lower your ISO.
- Use a faster shutter speed.
- Employ an ND filter.
Using a combination of these techniques will allow you to lower your f/stop and get a naturally blurry background. Because you’ll be working with a shallow depth of field, double check that you’re in focus before you start snapping.
Portrait mode: Taking a headshot using your smartphone? Newer versions have portrait mode settings, which create an artificial blur around a subject. This may be the easier option for beginner photographers, but it has its drawbacks: While portrait mode can be effective, most professionals can tell when it’s been employed, so you’ll likely be relaying that you are an amateur.
Add blur in post: If you’re unable to get a blurry background on the day of the shoot, fear not! You can always edit your photo in post using Photoshop or another comparable photo editing software. Simply select the background and add a Gaussian Blur.
However, this option also runs the risk we outlined with portrait mode: It can look fake. Plus, it adds a decent amount of time to your post-process, so this option is best used as a last resort.