From the narration in “Goodfellas” to a social media how-to video, voiceovers offer a way to convey information quickly and (if done right) compellingly. Let’s take a look at how you can write, record, and edit a voiceover that will keep an audience hooked—and help you land more content creator jobs.
1. Start with the purpose and platform in mind.
Before you touch a microphone, you need to know why you’re recording a voiceover in the first place. Every project has a different goal. Maybe your narration is meant to explain a concept, sell a product, entertain an audience, or help you become a successful social media influencer. Defining that purpose at the outset helps shape everything else, from script length to tone of delivery.
TikTok and Instagram Reels usually reward short, punchy voiceovers that grab attention in the first three seconds, while YouTube allows for a slower, more nuanced style. That said, certain qualities are universal: Your voice needs to be clear, paced appropriately, and emotionally aligned with the content.
2. Write a script that’s easy to speak.
Writing for voiceovers is very different from writing for the page. The human ear processes speech differently from the eye, so scripts need to be shorter, punchier, and more conversational. Long, complex sentences may look elegant in text, but they’re hard to follow when spoken aloud. Aim for sentences of 10 to 15 words and keep the language natural, as though you were talking directly to a friend.
The easiest way to test this is to read your script out loud as you go. If a line feels clunky in your mouth, it will almost definitely sound clunky in the final recording. Revisions should focus on flow and rhythm rather than precision alone. You should also time your script. Adjust your pacing to match your audience’s expectations.
3. Choose the right equipment.
You can make excellent voiceovers without breaking the bank, but be sure to have the following gear:
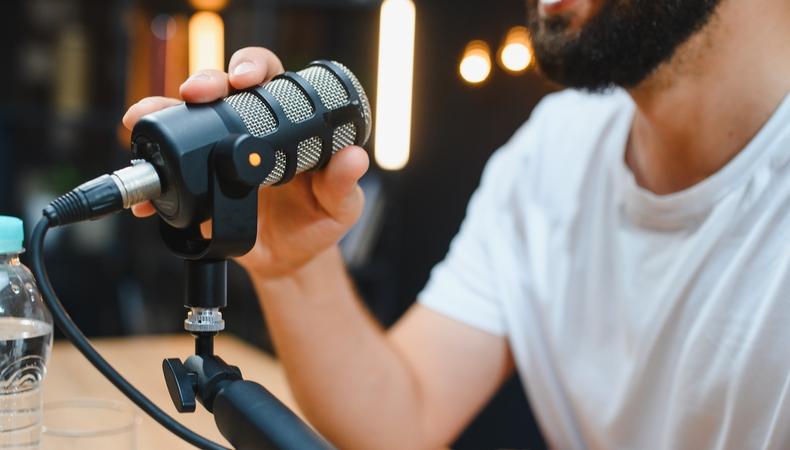
- Microphone: USB condenser mics (like the Blue Yeti or similar) are great starters because they’re plug-and-play. For better quality, consider an XLR condenser (e.g., Rode NT1-A) with an audio interface (Focusrite Scarlett or similar).
- Audio interface: If you use XLR mics, an interface converts analog to digital and supplies phantom power. Ensure it has low-latency monitoring.
- Headphones: Closed-back headphones for monitoring prevent bleed and let you hear details during recording and editing.
- Pop filter and mic stand: A pop filter softens plosive sounds (p, b) and a boom arm gives stable mic positioning.
- Computer and software: Any modern computer will do. Popular digital audio workstations (DAWs for short) include Audacity, Reaper, Adobe Audition, and Logic Pro.
A good starter kit (USB mic, headphones, and a pop filter) can cost under $200; a more professional home setup often sits between $400–$1,200.
4. Prepare your recording environment.
Even the best microphone will struggle if the room sounds bad, so take the time to ensure that yours is acoustically sound. You want a space that’s quiet and free from reflective surfaces. Bedrooms with carpets, curtains, and bookshelves often work better than bare kitchens or offices. A closet full of clothes is famously effective (though it can get hot).
Turn off fans, air conditioners, and other appliances. Portable vocal shields or foam panels can help reduce reflections if permanent treatment isn’t possible. The goal is to create a sound that feels dry and focused, without noticeable echo or hum.
5. Warm up and use proper vocal technique.
Your voice is an instrument, and like any instrument, it benefits from warming up. A few tips to keep in mind before you hit record:
- Hydrate: Drink room-temperature water; avoid dairy immediately before recording because it can thicken saliva and increase mouth noise.
- Warm up: Try gentle humming, lip trills, and tongue twisters to loosen articulators and improve clarity.
- Practice pacing: Read the script at different speeds and mark the ones that sound natural.
- Use a consistent distance: Typically, you’ll aim for 6–12 inches from a condenser mic with an off-axis angle to reduce plosives. For dynamic mics, you can be closer (2–6 inches), which gives a fuller sound.
- Control your breathing: Take quiet breaths through your nose and edit out or mask loud inhales later. Learn to place breaths at natural punctuation points.
6. Use recording best practices.
Treat the recording process as iterative. Record multiple takes of each section, experimenting slightly with tone and pacing. Remember, even professionals rarely get everything right on the first try. If you stumble, don’t stop the recording—just pause, back up a line, and continue. You can edit out mistakes later.
Energy consistency is important, especially for longer narrations. If you find your delivery flagging, take a short break or re-do your warmups. Keep the tone natural and conversational unless the script calls for drama or exaggeration. After each session, save files with clear names that include the date, project, and take number. That way, when you’re choosing between recordings, you won’t be lost in a sea of “final_final_2_FINAL.wav” files.
7. Edit and clean up the audio.
Raw voiceover tracks almost always need some polishing. Start by comping together the best takes, splicing them into one seamless performance. Use short crossfades between clips to prevent clicks or abrupt transitions. Some other editing techniques you may want to employ include:
- Noise reduction: Apply gentle noise reduction to remove constant low-level hiss or room tone. Don’t overdo it, since heavy reduction causes artifacts.
- Remove breaths and clicks: Manually remove or reduce loud breaths and mouth clicks. Use transient tools or manual fades. You can also use breath reduction plugins or automation to lower breath volume where necessary.
- EQ: Use a high-pass filter around 60–100 Hz to remove rumble. Gently boost presence (2–5 kHz) to increase clarity and reduce muddiness (100–300 Hz) if the voice sounds boomy. Small, musical moves are best; avoid extreme settings.
- Compression: Use a compressor to reduce dynamic range and make the voice sit consistently in the mix. Start with a gentle ratio (2:1–3:1), medium attack, and release that follows the voice. Aim for 3–6 dB of gain reduction on louder phrases.
- De-essing: Tame harsh sibilant sounds (s, sh) with a de-esser plugin. Apply it subtly so the voice remains natural.
- Level riding: Automate volume to keep words audible without pumping. Modern DAWs often include volume automation lanes that make this precise.
- Smoothing: Add short fades to the beginning and end of clips to avoid zippering or clicks. Use crossfades between stitched segments.
8. Mix the voiceover with music and effects.
On your road to becoming a content creator, you’ll realize that background music and sound effects are crucial. But keep in mind that the voiceover should remain front and center. Set the voice as the anchor and lower everything else around it.
If the music feels too loud, it probably is. Many editors use sidechain compression so that music dips slightly whenever the voice is present, though manual automation works just as well.
9. Do a final review.
Before hitting publish, confirm that your purpose and call to action are clear, your script is timed appropriately, your recording space was quiet enough that it didn’t cause interference, your audio levels are correct, and your editing is clean. Make sure the voiceover sits comfortably in the mix with music, export in the right format and loudness, and add accurate captions. After a while, all these considerations will become second nature.
The keys to good video voiceovers are preparation, consistent vocal technique, and careful editing. Early attempts may sound awkward, but that’s normal. The more you practice, the more comfortable you’ll become with your equipment, your environment, and your own voice.