Actors, it’s time for a self-taping intervention. It seems there are a lot of you out there who are sending in poor audition tapes. I’m talking out-of-focus, poorly-lit, unprofessional, shaky, Blair Witch-style auditions.
I get it. You get the tape request at the last minute, panic, and need to make some quick decisions. What do you do when it’s 10:30 p.m. on a Monday and your agent emails you saying they need the self-tape by the next morning? You can pay a lot of money to get it done professionally—or you can simply take a deep breath, and do it at home using the tools you already have. I promise you, it’s not that complicated.
Here are a few simple ways to make a professional, high-quality self-taped audition for film or TV.
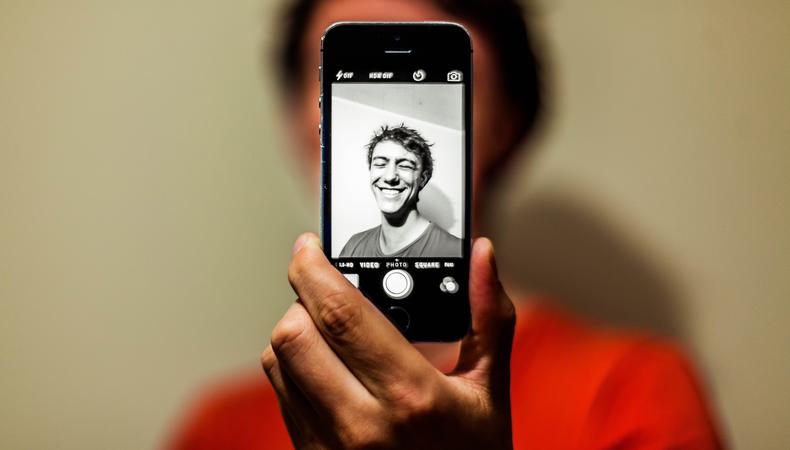
1. Use a smartphone or tablet like an iPhone or iPad.
We all have one of these, and the HD quality is better than most camcorders. Prop it up on a book or buy a cheap tripod ($20 on Amazon) and an iPhone clip. You can email the file directly from the phone afterward instead of uploading to WeTransfer or Hightail. It couldn’t be easier.
2. Use a neutral backdrop.
A wall works best. Or buy an inexpensive gray or blue bed sheet and pin it on the wall. Keep it simple and clutter-free. Nobody needs to see your creepy doll collection in the background of your self-tape.
3. Find a quiet room.
Turn the TV off, silence your phone, tell your roommate to stop singing, and shut the windows. Nothing kills a self-tape more than car alarms and sirens.
4. Pay attention to lighting.
Don’t use overhead lighting, as it creates strong shadows under your eyes and chin. Use natural light—or, if your apartment is dark, buy a couple of cheap clip-on lights from your hardware store. Put the lights a little above eye level, on either side of the camera, and use daytime fluorescent bulbs (tungsten bulbs create a less appealing “candlelight” effect). It’s all about the eyes, so make sure they are clearly lit and in focus.
5. Get a good reader.
A bad reader or a loud reader can really ruin an audition tape. Make sure when they are reading they are quieter than you, as they will be right next to the camera, and you want the voices to balance out. Also, make sure the reader doesn’t read the stage directions. (You’d think that would be obvious. You’d be surprised.)
6. Check the slate instructions.
Sometimes the casting director wants something very specific with the slate, like a full body shot or a tight close-up and profiles. Make sure you read the original email carefully. If the instructions are to send via YouTube or Vimeo, make sure it’s a private link. If you are uploading into iMovie, you can send it directly to Vimeo or YouTube from that application.
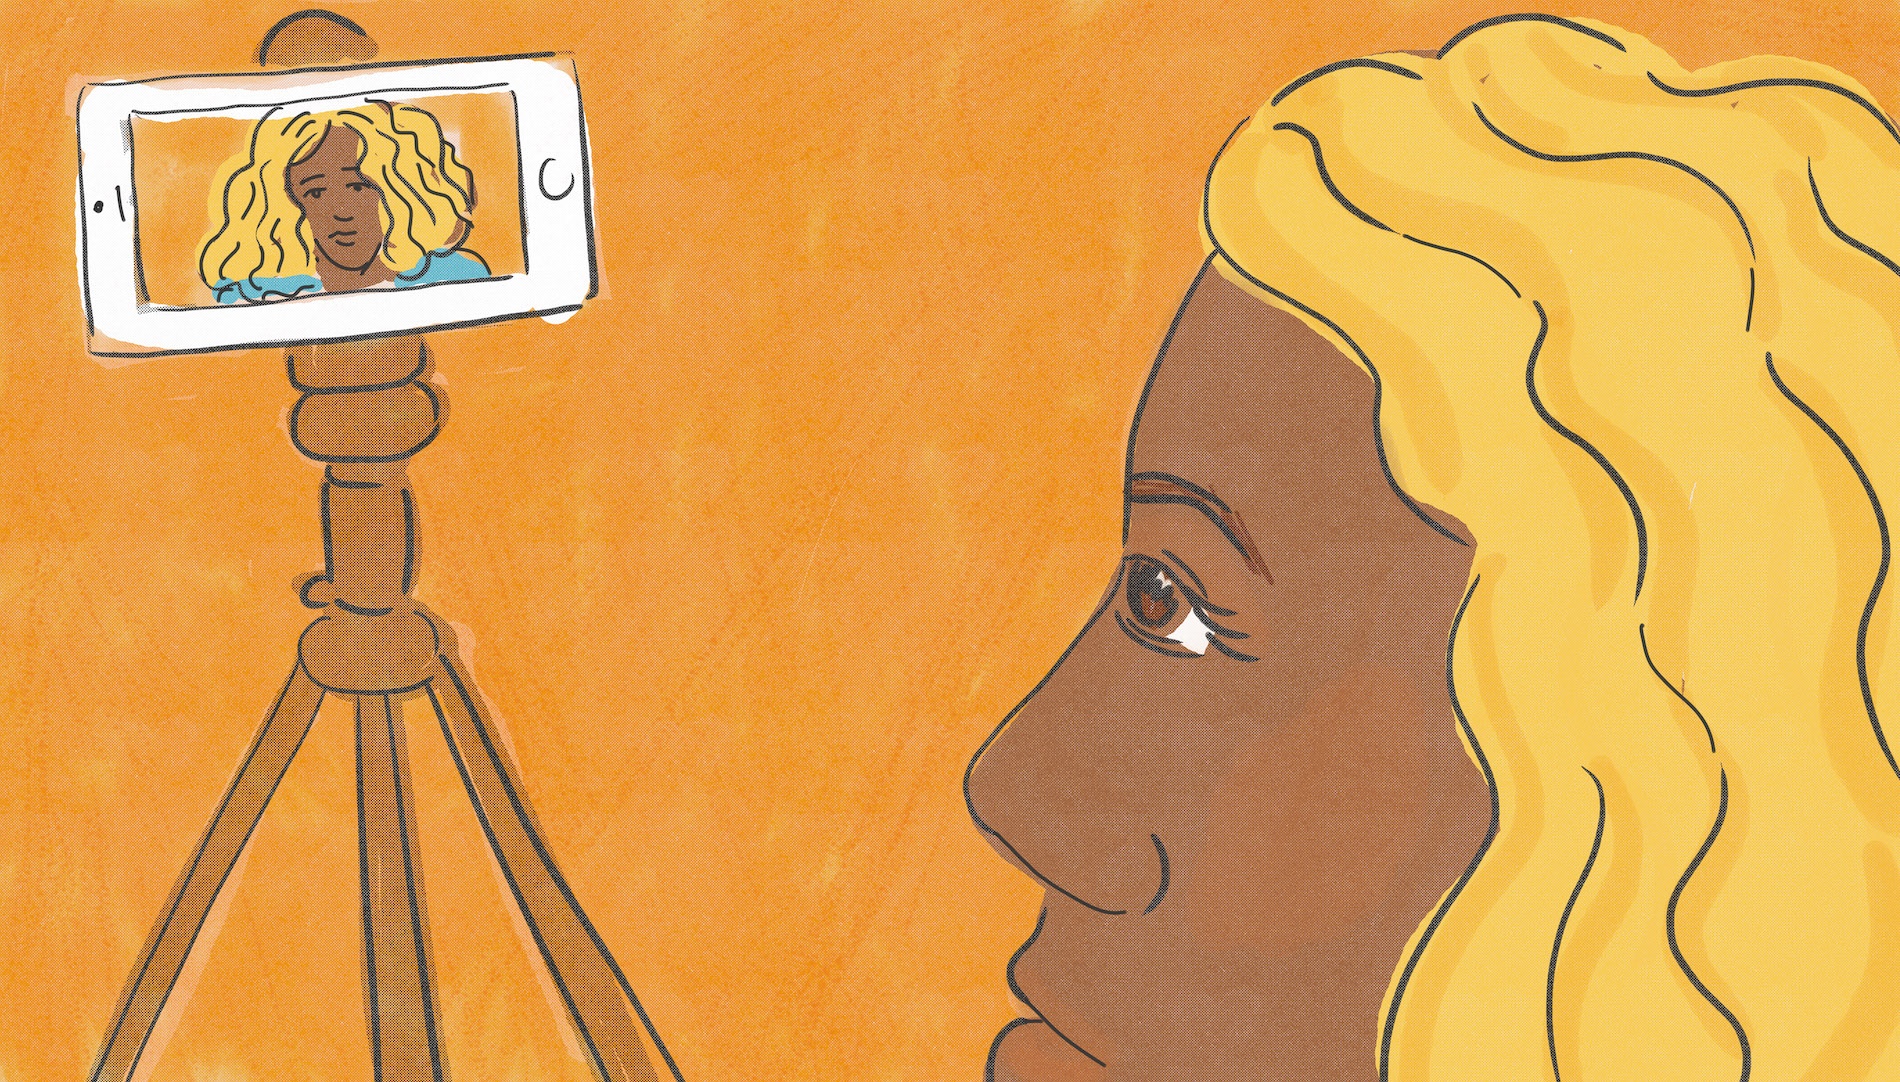 Your Guide to a Perfect Self-Tape
 7. Slate separately.
It’s always better to separate the slate and the scenes and film them as separate takes. It allows a break so you can really get into the character before rolling the camera for your first scene. The slate is directly into camera (name, age, role, agency, etc.). The scenes are to the reader sitting next to the camera. Also, don’t slate in character. It’s weird. This is the first time anyone sees you. Be cool, be natural—be someone they would want to work with.
8. Use a tight medium frame.
The frame for a self-tape should be from the chest up. Be still. Think it and feel it, and the camera will capture it. Save the flailing chicken acting for your “Guys and Dolls” audition. Don’t pan and don’t do any handheld “Law and Order” stuff. Lock the frame, and keep it simple. Too much movement is distracting from the performance. The camera should be at eye level—not below, not above.
9. Sit or stand—you decide.
It’s a medium shot, so it doesn’t matter, unless it affects your energy. Sometimes if you stand, it gives the scene more life, as a chair or sofa tends to zap the energy. Go with whatever feels right.
10. Avoid staring straight into the camera.
Never look directly into the camera for a scene unless the stage directions specifically say so. Make the reader the main character in the scene and connect to that person. If there is another character, imagine someone standing directly on the other side of the camera.
11. Set a time limit.
Recording your self-tape should take a half-hour to an hour, max. Don’t overthink it. Be as prepared as possible when you start taping (memorized, strong choices) so that you don’t waste time messing up lines. Do two or three takes of each scene, and pick only the best one to send (unless otherwise requested). We’re not doing a David Fincher movie.
12. Always re-watch the self-tape before sending.
You never know if there will be a tech problem. Make sure it looks and sounds good and is in focus. You want this to be as professional as possible.
13. Look your best.
Treat it like a real audition. Make yourself camera-ready (hair, makeup, outfit), and make sure you are well-rested.
Finally, just relax and have fun. The great thing about self-taping is you can do it until you get it right. If you have a bad taped audition, it reflects poorly on you and makes you look like an amateur. You want to be as professional as possible and show the people hiring you that you take your job seriously. If you follow these steps, your talent—not your poor self-tape quality—will stand out.
Looking for remote work? Backstage has got you covered! Click here for auditions you can do from home!
The views expressed in this article are solely that of the individual(s) providing them,
and do not necessarily reflect the opinions of Backstage or its staff.