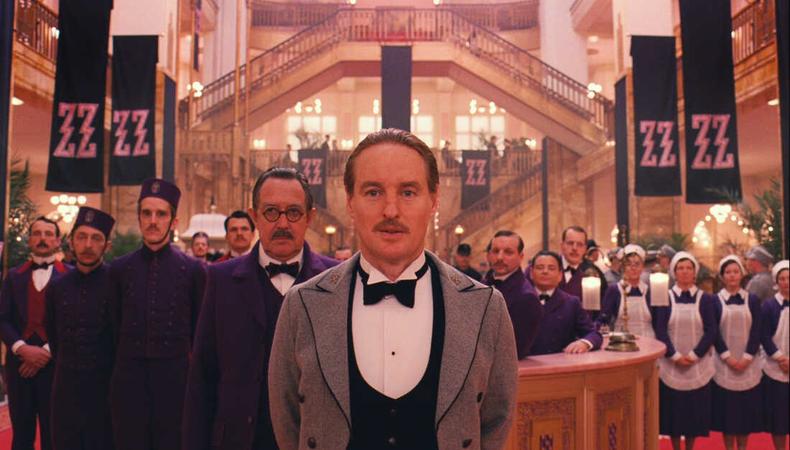
Dynamic range dictates the difference between the blurry tones of an old-school home video and the sharp colors of a Wes Anderson movie. Because of this, understanding the dynamic range ratio is a must for any aspiring filmmaker hoping to capture clear, crisp, and detailed images.
JUMP TO
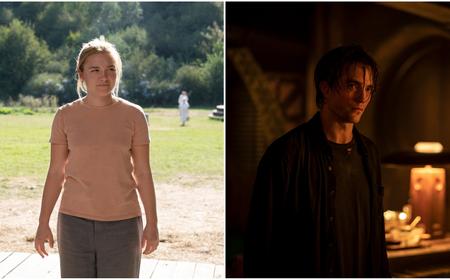
 “American Crime Story” Tina Thorpe/FX
In the worlds of photography, videography, and cinematography, dynamic range is the proportion of light to dark tones in a shot. A high level of dynamic range means there are bright white and deep black tones in an image, while a low level means there’s little tonal contrast.
Processing the right level of dynamic range for your shot shows visual details that may otherwise be lost in shadows and highlights. “Dynamic range is something that helps us strive towards a more perfect presentation of entertainment,” says cinematographer Simon Dennis (“Hollywood,” ”American Crime Story”). The proper dynamic range also cleans up muddied textures and improves color grading. Altogether, it’s key to calibrating visually appealing shots and creating a filmic look.
Dynamic range is made up of a few key elements, including:
- Highlights: the brightest area in a shot
- Shadows: the darkest areas in a shot
- Midtones: the center in between darker and lighter tones for every color value (for example, the midtones between pure black and white are gray)
These elements are determined by lighting and composition. High-contrast lighting generates intense shadows and highlights, and mixing light and dark objects (such as dark clothing juxtaposed with a bright sky) naturally extends the spectrum of tones. Getting the right exposure for each shot helps preserve as much detail as possible.
 Courtesy NatureTTL
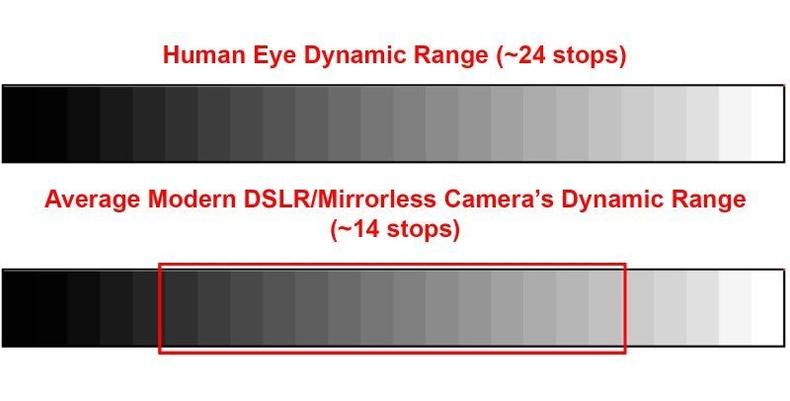
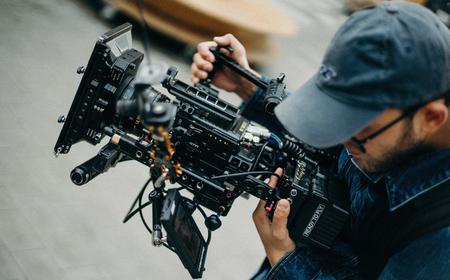
Dynamic range is measured in f-stops (also referred to as “stops”), which marks your lens’s “aperture,” or the amount of light that’s entering the camera. The higher the number in the stop range, the smaller the aperture. These days, higher-end digital cameras can capture approximately 12 to 15 stops; with a wider range of stops comes a broader dynamic range.
Although it’s not possible to replicate the dynamic range seen by the human eye given the current state of technology, with recent advances, it’s not unimaginable that a camera might one day see what we do.
 Jason Wells/Shutterstock
Good dynamic range
Since maximizing footage integrity means more realistic visuals, better dynamic range allows filmmakers to craft more immersive filmic experiences. “The dream for every DP is to get a really strong image overall where everything is balanced,” says Dennis. Taking the time to balance and optimize dynamic range has the following benefits:
- Preservation of detail: Exposing all the details in your shot is almost always a good thing. Without doing so, you risk letting the efforts of the production designers, makeup and costume crew, and actors go to waste.
- Color emphasis: A higher dynamic range increases the range of the color gamut, or color space—the range of colors that can be expressed in digital photography.
- Easier editing: The clearer a scene is when you film it, the easier it is to tweak in postproduction.
 High-Key Lighting vs. Low-Key Lighting In Film
 Poor dynamic range
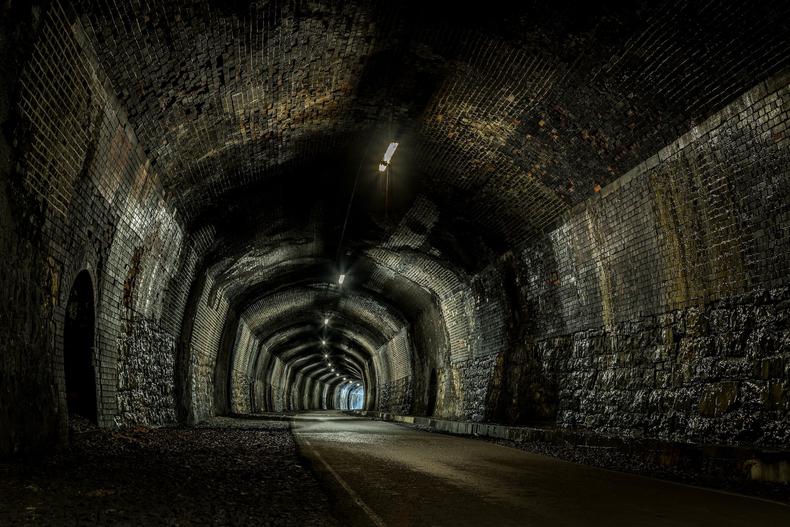
Still, an important part of dynamic range is knowing when to not push it too far. If, for example, you want to properly capture an image with a high dynamic range like a sunrise, you need to ensure you're set up with the gear with a range to match. If the dynamic range of a shot is too high for equipment to handle, it may create some of these visual issues:
- Flatness: A flat image means that there is a distinct lack of contrast due to the even distribution of your lighting. As a result, the picture lacks depth. This look is best avoided if you’re trying to create a dramatic atmosphere.
- Overexposure: When the highlights of a shot are overblown, the image will be too bright, resulting in loss of detail. It may also be glaring and harsh to the eye.
- Darkness: If the black tones are overemphasized, the image will be far too dark, rendering it difficult to see.
- The “halo” effect: Overprocessing an image can result in halos of light around points of an image where dark tones bleed into light tones.
It’s worth noting that the dynamic range you want for your shots depends on your subject and the project you’re working on. If you’re trying to create a low-contrast look, shooting or processing for high dynamic range can result in your shots looking uncanny or garish. And in some cases, going through the trouble of shooting or rendering in high dynamic range (HDR) may not make any tangible difference in your shots.
It’s more important to make sure the exposure of your shots is balanced and the look aligns with the mood of your project. If you’re working on a tense drama, a bright and colorful look might result in visual whiplash.
 How to Become a Cinematographer
 Creating ideal visuals is a skill that filmmakers spend years refining. It’s both a technical skill and an art that requires knowledge of the craft and an eye for determining what’s right for any given shot. The following techniques help create those perfect shots:
Get the right camera
Not every camera is made equally; some are capable of capturing footage at a much higher quality than others. But as technology advances, it’s cheaper and easier to get cameras that create impressive visuals, even with a tight budget. For beginners, a good general rule is to look for a digital camera that can capture 10 to 12 stops of dynamic range at its base level "ISO," or its sensitivity to light.
 jgolby/Shutterstock
Check dynamic range
If you don’t know what you’re looking at, you’ll just be taking shots in the dark. Here are the most common ways to map the lighting and dynamic range of scenes and shots:
- Light meter: Want an exact measure of a room’s ambient temperature? This device measures the tone and exposure of the surrounding area.
- False color: Using false color highlights areas of a shot where the light is clipping, which shows cinematographers and digital imaging technicians where they have to adjust the exposure.
- Histogram: This tool displays a graph that shows the gradient of black and white colors. Most digital cameras have a histogram built into them, so it’s easy to check before and between shots. Histograms are also used in editing to check and re-balance dynamic range.
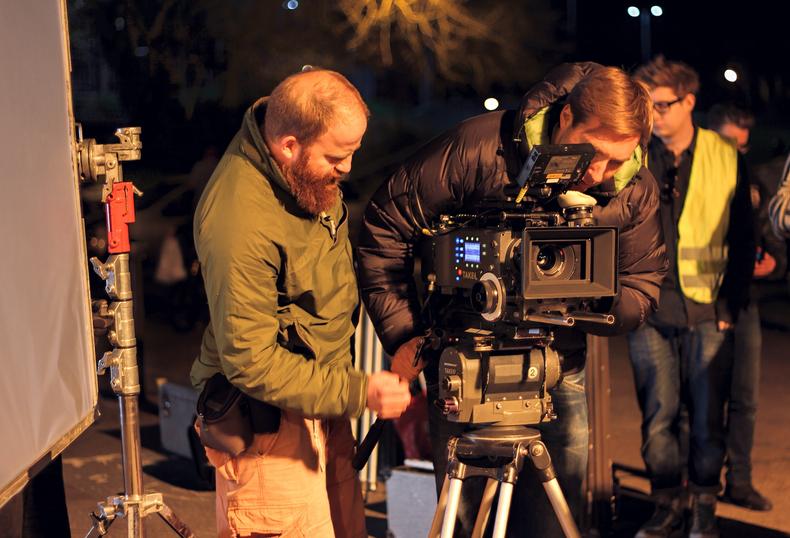
Adjust lighting
Because lighting is a crucial part of dynamic range, tuning it to your needs is the best way to stay flexible. These are some of the fundamental ways to change how your camera captures light:
- Aperture adjustment: Opening or closing the aperture changes the amount of light let into the camera and the focus. Think of it like the pupil of an eye that expands and contracts according to the amount of light it’s exposed to.
- Neutral-density filters (ND filters): You can put these attachments on the front of a camera lens to control how much light enters.
- ISO: As opposed to a camera’s aperture or ND filter, ISO is the way brightness is mapped in an image within the camera itself. Raising it is useful for filming in dark environments, but overdoing it can result in grainy image noise.
You can capture video with a high dynamic range by configuring your camera setup to shoot either with a log curve or in RAW, which will give you much more leeway.
Some cameras come with a built-in HDR setting that will automatically layer together at least three different exposures — variations of underexposed, overexposed, and middle gray — of the same footage. This process is called exposure bracketing and can be used to create images with higher contrast, colors, and bit depth while preserving all the visual information.
Many modern phones even come with the option to automatically shoot in HDR, but you have less control over the footage if you leave it as is. If you’re shooting in this format, it’s also essential to monitor your shots to avoid your highlights clipping or your blacks getting too noisy.
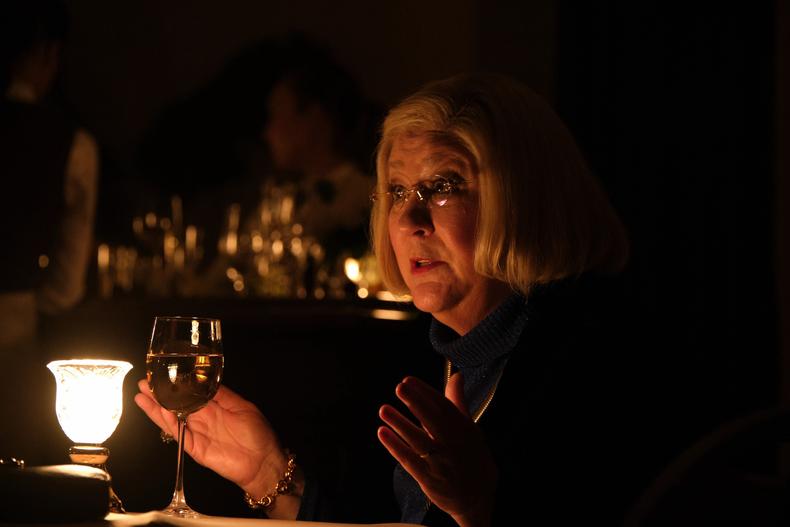
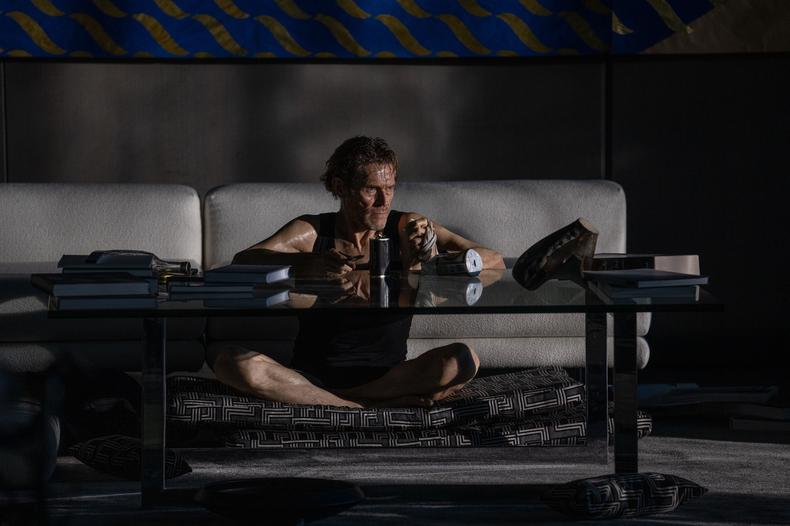 “Inside” Courtesy Focus Features
Although it’s not possible to completely change footage highlights and shadows during postproduction (it’s much easier when shot in RAW rather than compressed formats like JPEG), these edits can help increase dynamic range:
- Edit highlights: If the lighter tones are too bright, you can pull them down to reduce overexposure. Depending on how overexposed the footage is when you film it, you may or may not be able to get all the information lost in the highlights back.
- Lift shadows: On the other hand, you can also lift the shadows to reduce clipping in areas where the subject or background is too dark.
- Get the contrast right: If you’re tweaking the highlights and shadows, you run the risk of raising the midtones too much. You can correct this by adjusting the contrast of the image.
- Processing the right way: Programs such as DaVinci Resolve are best used with an HDR monitor. Although professional hardware can cost you thousands of dollars, there are accessible models out there. Thankfully, HDR technology is becoming more accessible every year.
Tread carefully, since playing with these elements too much can distort an image in an unflattering way. And even if you can’t achieve the most impressive dynamic range, it isn’t the end of the world. “Most people at home or when they go to the cinema don’t even think about those thoughts,” Dennis says. “All they want to do is enjoy a good story.” Focus on creating the right visual style for your movie. At the end of the day, it’s all about the needs of each film.