
Like it or not, self-taping is part of your audition process. While it’s desirable to be “in the room,” when there are circumstances outside of your control, you don’t get that coveted appointment, are out of town, on set, or a casting office doesn’t quite see you in a role, a self-tape can be your entry to a callback or direct booking.
There are self-taping companies that offer quick turnaround at what should be a reasonable rate but whenever possible, I’m all about producing your own work. Follow these simple tips and gain the confidence to produce your own self-tape.
Find your village
If you’re in class—which everyone should be!—you already have a great group of like-minded artists to collaborate with, including any self-taping you need to do.
Submit before the deadline
If you’re a last-minute kind of person, you might be missing out on a hidden opportunity. Every office is different, but some view self-tapes as they arrive. If there’s time before the due date and your read is strong or just missing the mark, we’ll circle back with notes more in line with the vision for the role. That’s right! We’ll provide redirects without you stepping one foot in the room.
Pay attention to the background
De-clutter the background; limit any distractions for the viewer. A blue background makes everyone pop. A white background is fine. Resist a black background to avoid a floating head. Hang a bed sheet, yoga mat, crumpled paper (for texture), or a curtain behind you for a solid surface. Be resourceful and creative, and keep your background clean.
 Your Guide to a Perfect Self-Tape
 Light it right
The days of space-sucking box lights are gone. A simple ring light is all you need for a self-tape. There are standing ring lights your camera or smartphone can be placed in the center of, as well as the very cost-effective tiny ring light that clips onto your smartphone. You don’t need to spend a crazy amount of money on lighting.
Not ready to make a commitment to lighting equipment? Use existing overhead light, lamps, and natural light you already have at your disposal. Understanding the principles of three- and four-point lighting is still important.
Make sure the sound is sound
Usually, the sound from the camera or smartphone is enough. If you find there’s extra buzzing in your take, there are programs like iMovie and Audacity that will reduce the buzzing with a noise reduction or equalizer button.
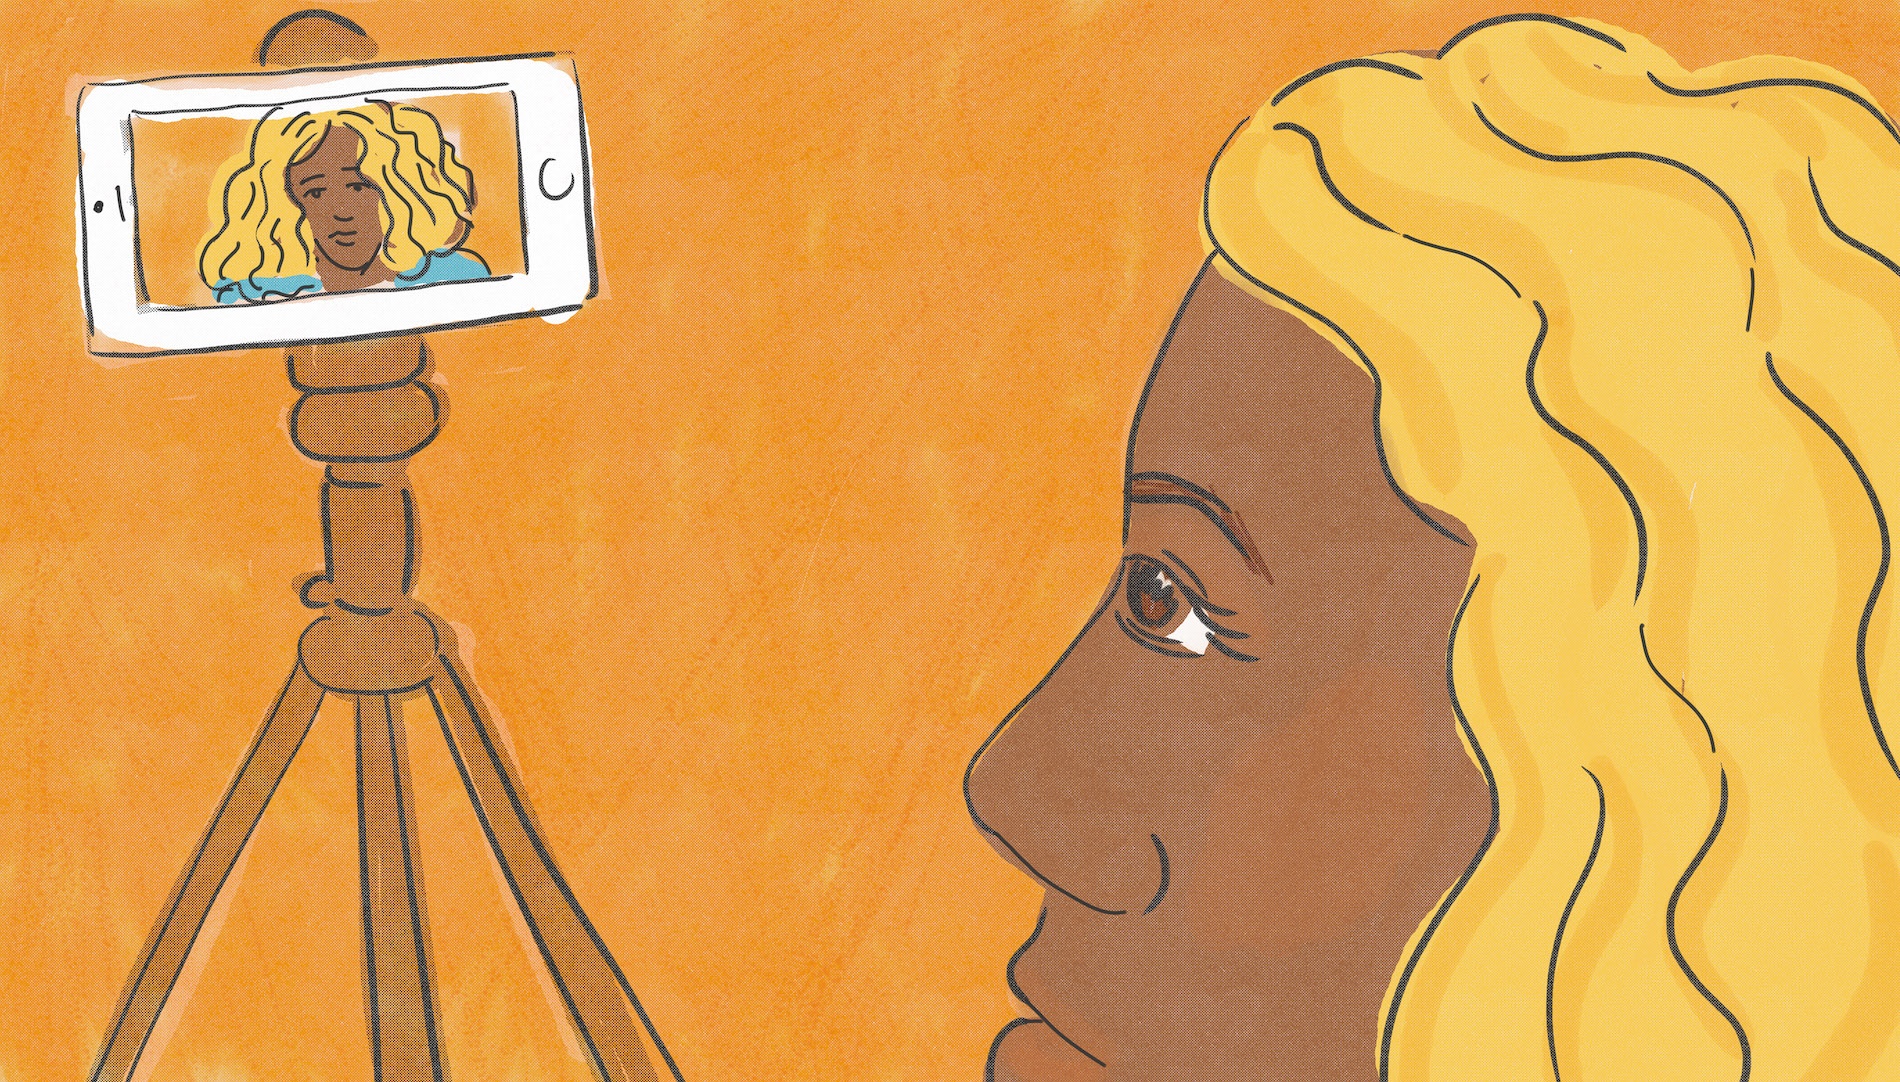
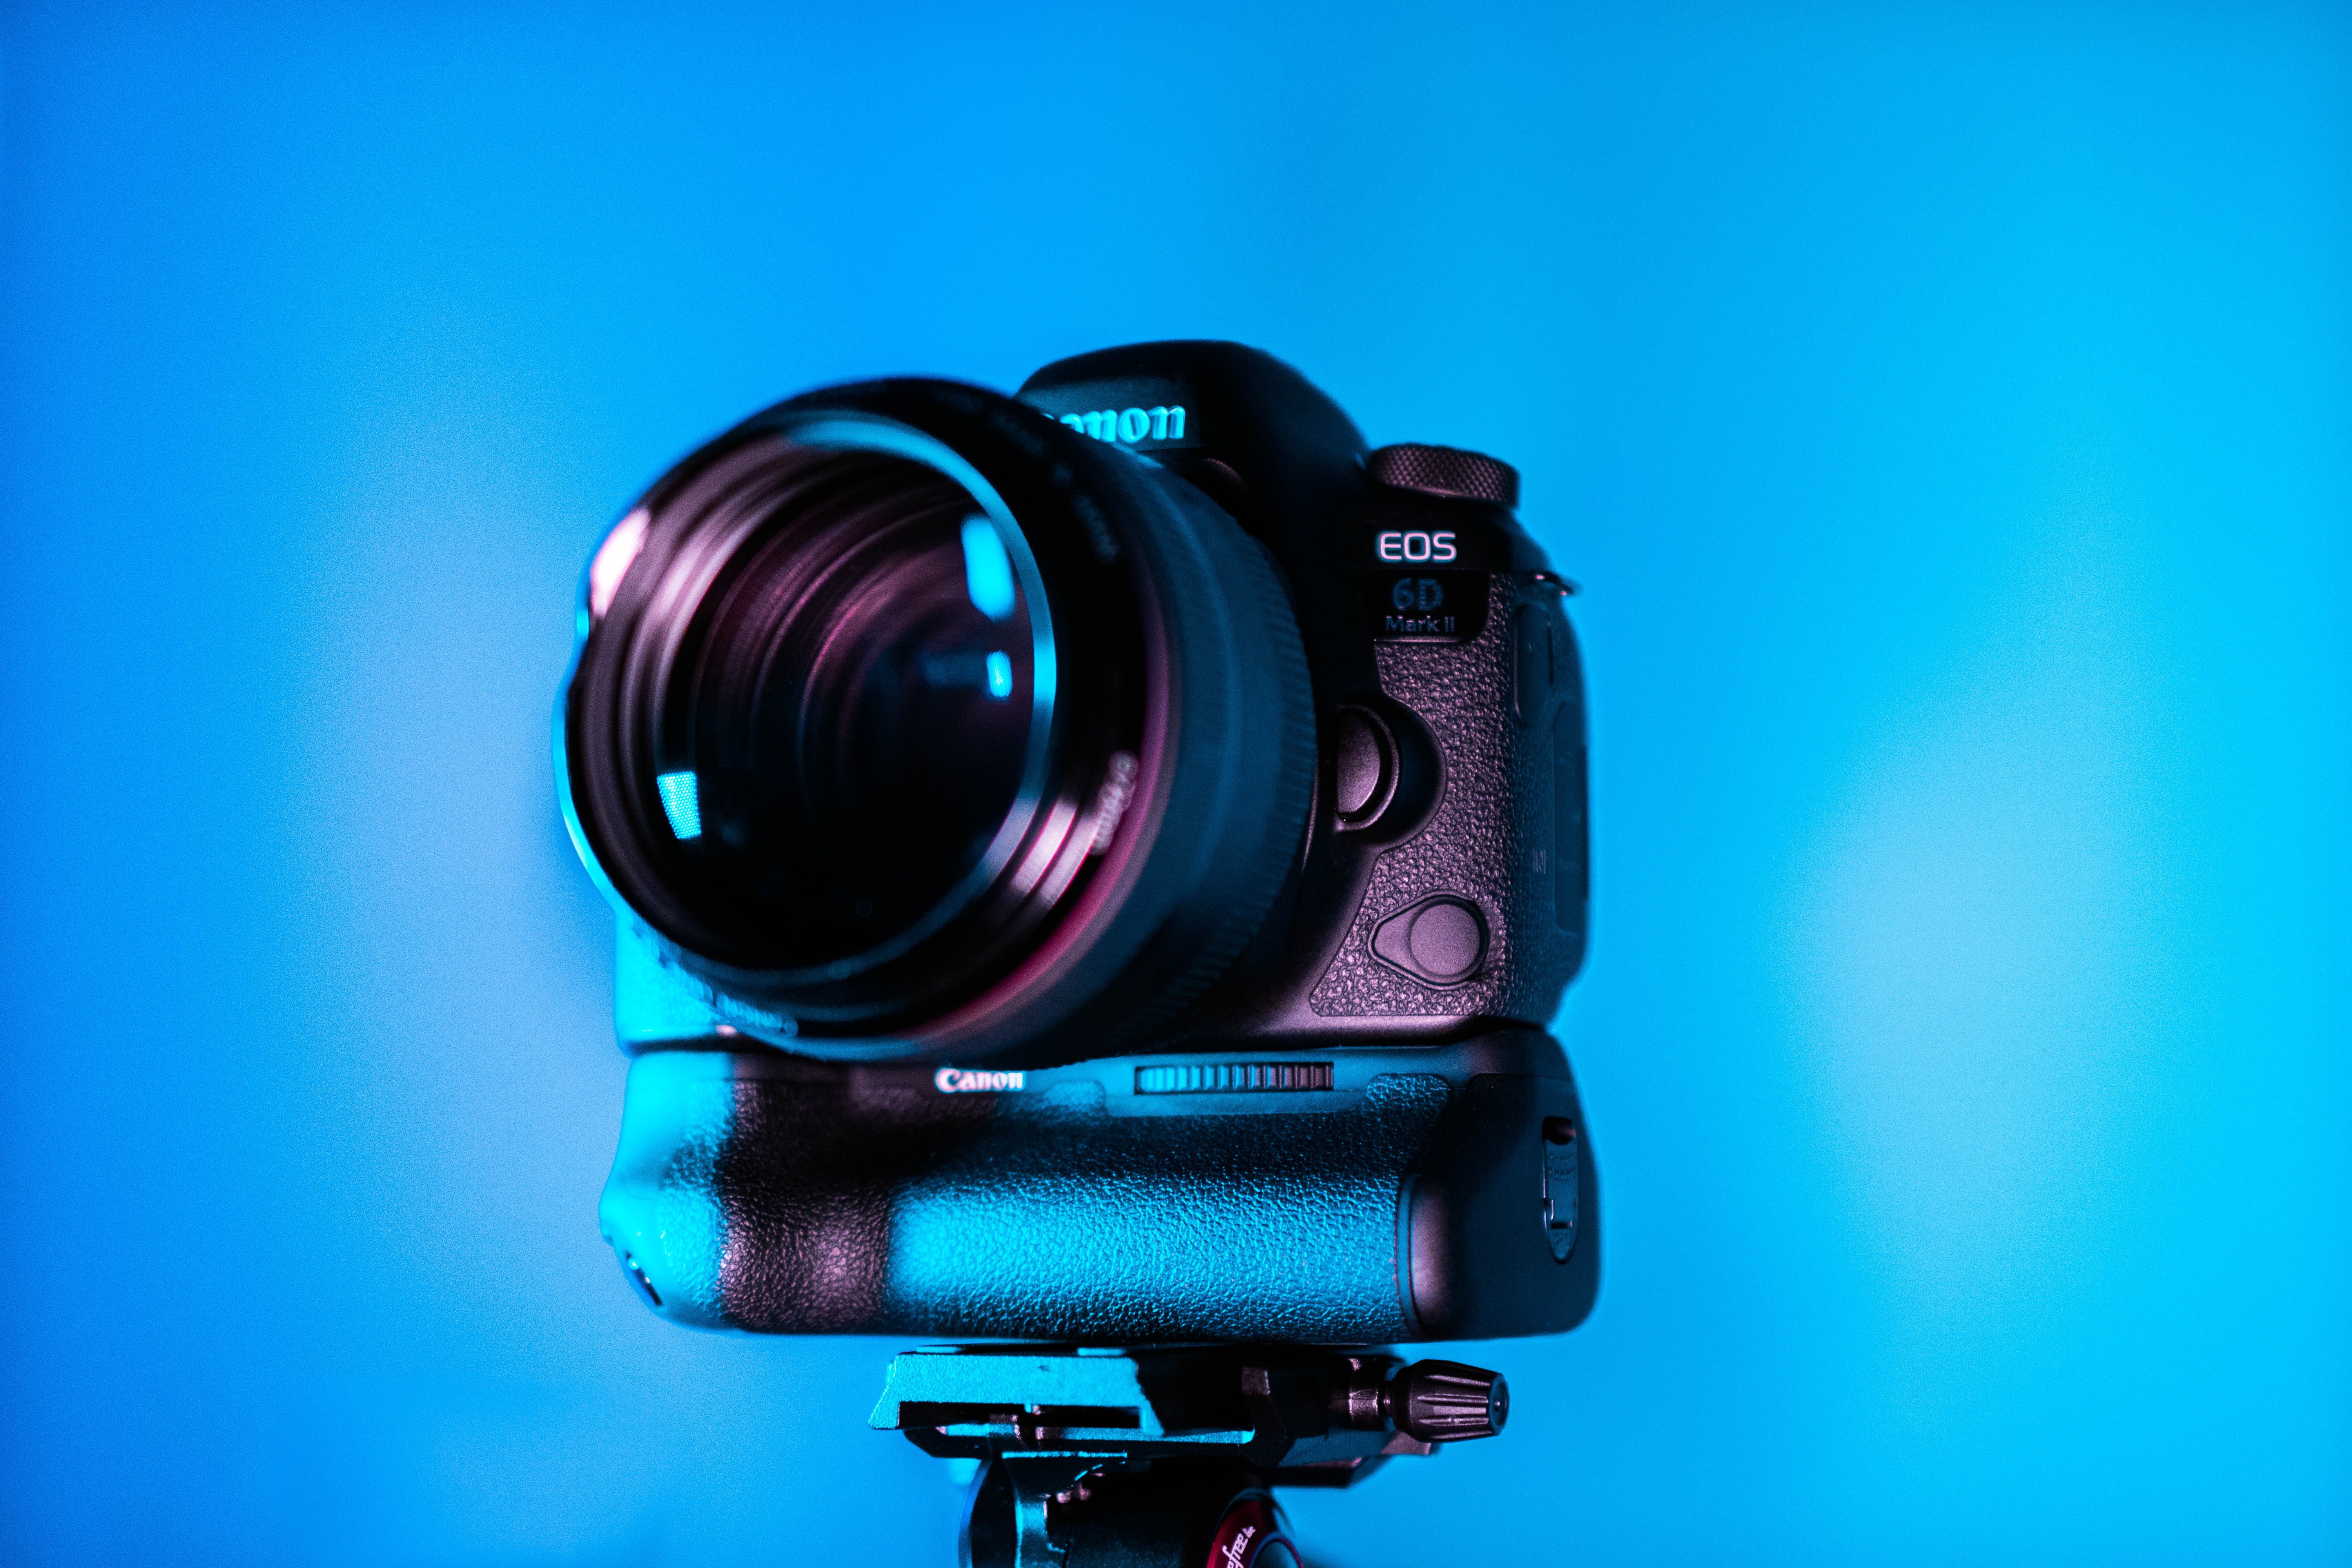
Consider your camera
Whether you use a video camera, 35mm camera with video, phone, or iPad, place the lens at eye level to you. We want to catch everything you’re listening to and reacting to during your read.
Frame it
In the audition room, you’ll stand about six feet from the camera. In your self-tape, you can place yourself as close as you need to for your recording. We generally tape from chest-up or waist-up if there’s movement. Because you are shooting from the chest- or waist-up, you won’t need a lot of background space.
Direct your reader
Place your reader next to the camera, about one step away from it. Remember to direct your reader to speak at a lower volume than you as he or she is closer to the microphone than you are. Be mindful to have your reader at eye level with you as well.
 The Top 5 Things Casting Directors Look for in a Self-Tape
 Slate (if asked)
If slating—stating your name and any other particulars requested—do it with an energy I would describe as half you and half the character. You’d be surprised how important the slate is to set up what we’re about to view. It’s the first impression we form about your appropriateness for the role. If slating on your phone, slate vertical, read horizontal, and add it to the end of your read unless directed to do otherwise.
Memorize your sides before taping
When we see eyes drop down to the page to search for a line, it takes us out of the terrific moments you’re sharing. If you need your sides, unstaple and post them nearby so it seems as if you’re incorporating thought, not searching for lines. Don’t show the pages on-camera.
Crop
Sometimes, the scenes are shot too wide or there’s something in the background missed while taping. Luckily, there are apps and free programs to crop your scenes so use them to crop any unwanted distractions and to frame chest-up or waist-up if needed.
Follow uploading instructions
Every office has a different way they’d like to have self-tapes uploaded, so be sure to double-check any notes. Some may want clips uploaded separately or edited together to make one continuous take of all scenes and slate. Make sure to reduce the size of the file for quicker upload on your part, and quicker viewing and download on our side. This is easily done through QuickTime player, “export as...” If a link is forwarded, make sure your video is downloadable for the recipient.
Resist waiting until the appointment to practice these necessary steps. Practice now so when you get that self-tape request, you’re ready.
Looking for remote work? Backstage has got you covered! Click here for auditions you can do from home!
The views expressed in this article are solely that of the individual(s) providing them,
and do not necessarily reflect the opinions of Backstage or its staff.