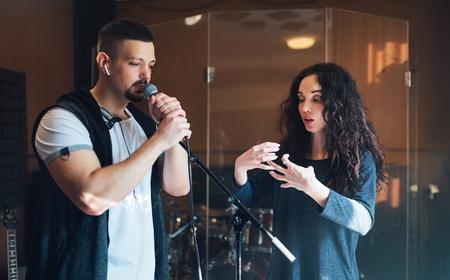
If you’ve ever listened to a crisp recording and wondered why your microphone doesn’t sound as clear, don’t worry—you’re not alone. It takes more than simply buying the right equipment to make your audio sound great. The good news is that you don’t need a high-tech studio or expensive gear to get there. Here are a few easy adjustments and techniques to take your microphone to the next level.
1. Prepare your recording space.
Your room plays a big role in audio quality. A microphone captures not only your voice but also your surroundings. Follow these tips to create a clean recording environment:
- Choose the quietest room you have access to. Avoid spaces next to roads or with items that make constant sounds, such as a refrigerator.
- Minimize background noise by turning off air conditioners and other appliances. If your computer has a fan, place it out of the room and run cables to the microphone and monitor.
- Record in a space with soft furnishings, such as beds, carpets, or curtains, to absorb sound and reduce reverb. A closet in a bedroom can be a great choice.
- Face an absorptive surface—such as curtains or a rack of clothes—not a bare wall.
- Test your room’s sound by clapping your hands. If you hear an echo, consider adding acoustic treatments such as foam panels or thick blankets.
2. Choose the right microphone.
Not all microphones are created equal. The right choice depends on what and where you’re recording. For voiceover work or narration, a condenser microphone (such as the Rode NT1) offers the best clarity and detail. However, these mics are very sensitive to poor room treatment. Shotgun or dynamic microphones (such as the Sennheiser MKE 600 or the Shure SM7B) are great for less-controlled spaces. If you’re serious about studio-quality audio, consider upgrading from a USB mic, which plugs directly into your laptop, to an XLR microphone paired with an audio interface.
 Types of Microphones: How to Know Which Mic You Need
3. Optimize your microphone placement.
Where you place your microphone matters as much as the microphone itself. For optimal sound:
- Position noisy equipment, such as your computer, behind the mic. Most studio microphones capture sound from the front and reject noise from the sides and back.
- Ensure you’re speaking into the microphone correctly. For condenser mics like the Rode NT1, the “front” of the mic is actually on the side, so it should be standing upright. For a shotgun mic, the “top” of the mic should be pointing toward you.
- Keep the mic about six to 12 inches from your mouth. For a quick distance check, put your thumb on your chin and your pinky on the microphone.
- Position the microphone slightly off-axis to avoid breathing directly into it.
- Maintain a consistent distance to prevent volume fluctuations.
4. Set the gain correctly.
“Gain” refers to how much your microphone is picking up. If you raise it, your recording will be louder. Improper settings can ruin even the best sessions: Too high and you’ll get distortion; too low, your audio will lack clarity. Here’s how to set it right:
- Speak the loudest part you plan to record.
- Adjust the gain until your audio peaks at around -12 to -10 dB on your interface or DAW.
- Avoid letting the levels clip into the red zone.
5. Upgrade your accessories.
Sometimes, small accessories make a big difference. Here are some tools to consider:
- A pop filter to reduce plosives (harsh “p” and “b” sounds). A pop filter is much better than a foam windscreen cover, which can slightly muffle the audio.
- A sturdy shock mount to reduce vibrations.
- A quality boom arm to keep your microphone stable and off the desk.
- Professional-grade cables to avoid interference or signal loss.
- Over-ear monitor headphones (such as the Beyerdynamic DT 770 Pro) that allow you to listen as you record and keep an ear out for extraneous sounds.
6. Practice good technique.
No matter how expensive your gear is, poor technique can ruin your sound. Here’s what to keep in mind:
- Warm up your voice beforehand to ensure smooth delivery.
- Stay hydrated to limit mouth noise.
- Speak clearly and directly into the microphone.
- Control your breathing to avoid gasping breaths.
- Avoid excessive movement while recording.
- Be mindful of the clothes you wear, or clicking on your mouse and keyboard, as any extra sounds will lower quality.
7. Test and adjust.
Before hitting “record” on an important project, take time to test your setup. Capture a short clip and listen back with headphones. Fine-tune your placement, gain, or environment as needed. Iterating on your setup ensures the best possible results.
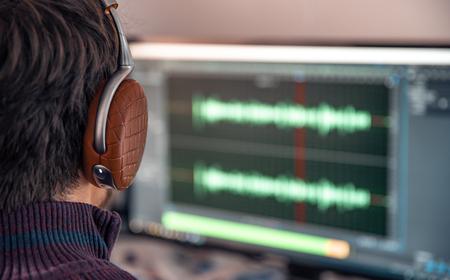
8. Consider DAW and post-processing tools.
Even with a great recording, a little post-processing can take your sound to the next level. Here are some essential tools:
- DAW (digital audio workstation): This is the recording software on your computer. Many people start with Audacity, however something like Reaper is more functional and will elevate your audio post-processing significantly.
- Noise reducer: Use this to remove background noise, such as fans and hums. The more this tool needs to work, the worse your audio will sound. So, remember, recording with minimal background noise is the priority.
- EQ (equalization): Use an EQ to boost clarity by enhancing higher frequencies (around 4–6 kHz) and reduce muddiness by cutting low frequencies (below 100 Hz).
- De-click and de-ess: These tools remove uncomplimentary sounds to smooth out your audio.
- Compression: Apply compression to balance your audio’s dynamics, ensuring quieter parts are audible without making louder parts overwhelming.
- Limiter: Just in case you do have peaks in your audio, a limiter can help prevent any distortions.
Improving your microphone’s sound isn’t about spending a fortune — it’s about understanding and optimizing what you have. With these tips, you’ll be well on your way to achieving professional-quality audio, whether you’re narrating an audiobook, recording a podcast, or killing it as a video game character. Happy recording!